
Email setup in Outlook 2013
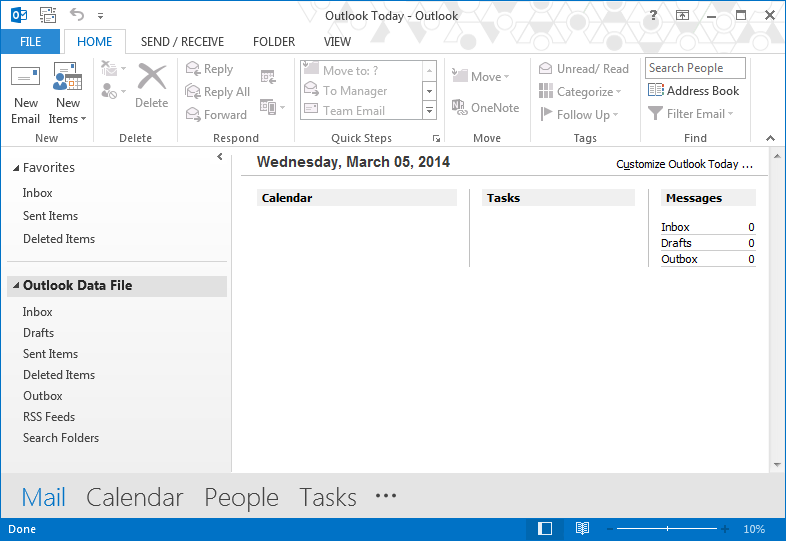
1. Click the blue FILE button at the top left of the screen.
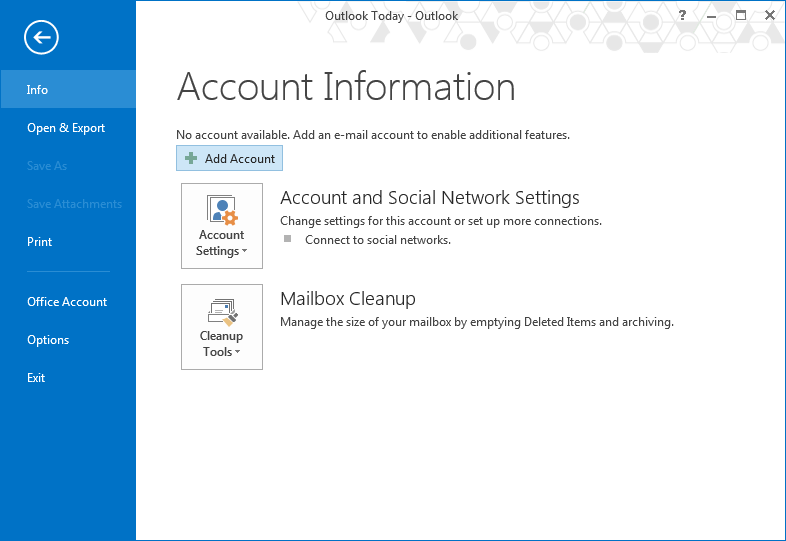
2. Click Add Account.
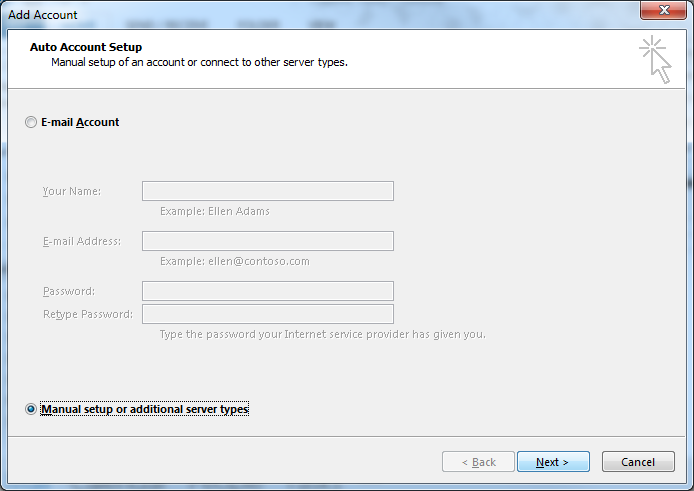
3. Click to add a dot in the circle labeled Manual setup or additional server types and click Next.
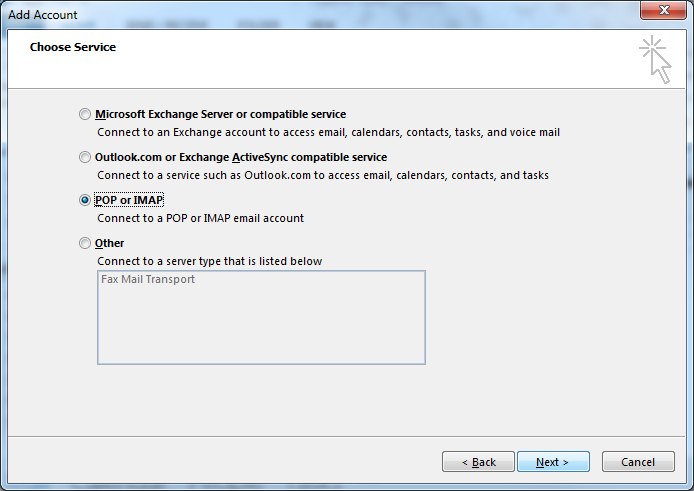
4. Click to add a dot in the circle labeled POP or IMAP and click Next.
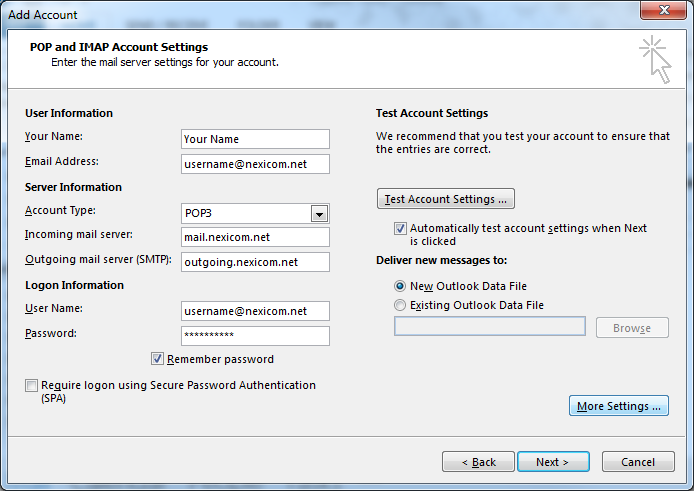
5. Fill in the fields with the corresponding information:
- Your Name – Your name (Whatever you enter here will be displayed on your outgoing messages)
- Email Address – Your full Nexicom email address
- Account Type – POP3
- Incoming mail server – mail.nexicom.net
- Outgoing mail server – outgoing.nexicom.net
- User Name – Your full Nexicom email address
- Password – The password that corresponds with your email address
Click More Settings…

6. Click on the tab labeled Outgoing Server.

7. Click to add a check mark in the box labeled My outgoing server (SMTP) requires authentication.
Click on the tab labeled Advanced.
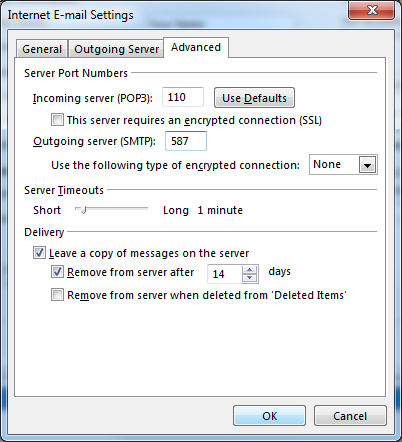
8. Type the number 587 in the box labeled Outgoing Server (SMTP).
Click OK.
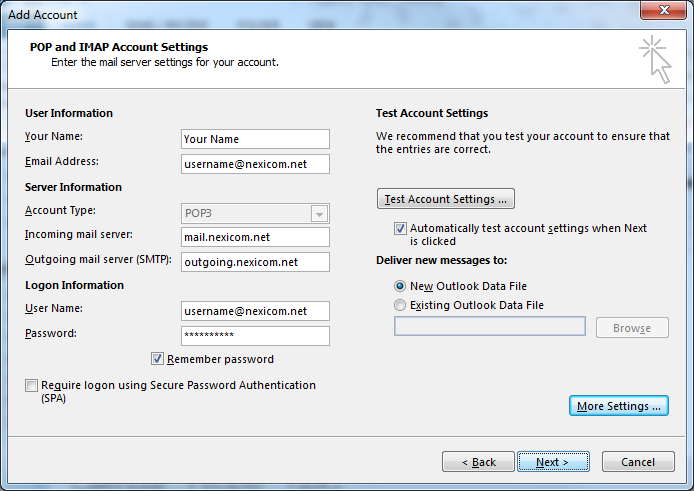
9. Click Next.
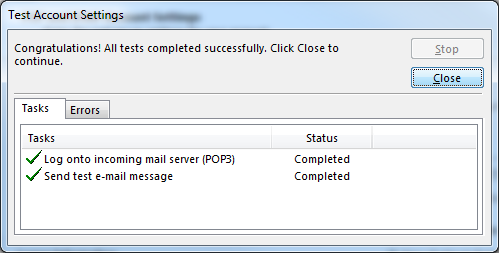
10. Once the tests have completed, click Close.
Note: If either of these tests fail, it could be due to an incorrect setting or the lack of an internet connection.
If you need any assistance, please call our Helpdesk at 1-888-639-4266.
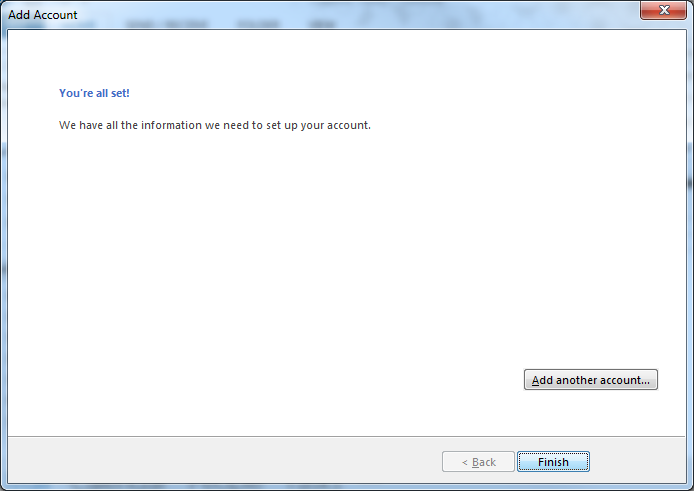
11.You have now entered all of the information required to setup your account.
Click Finish to begin using your account.