
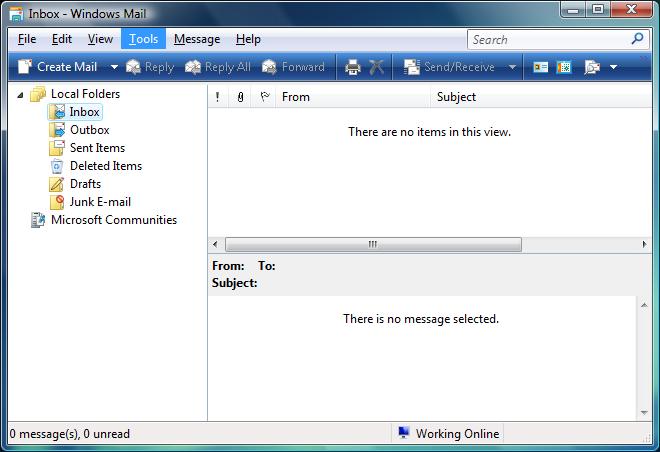
Email Setup in Windows Mail
1. Click Tools.
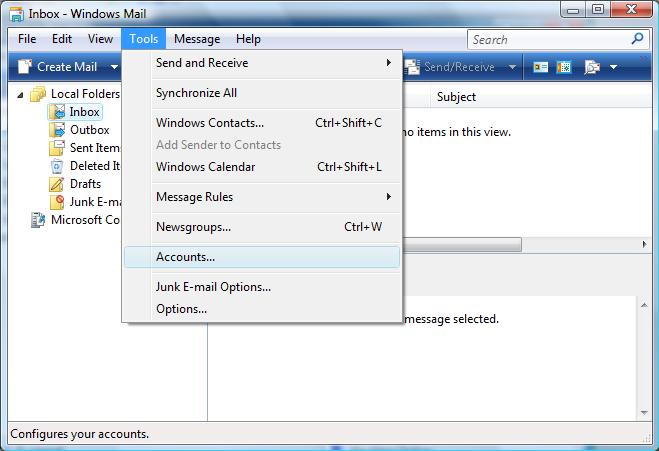
2. Click Accounts…
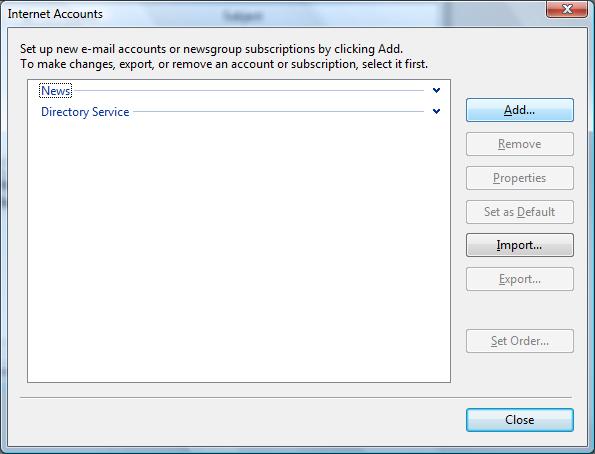
3. Click Add…
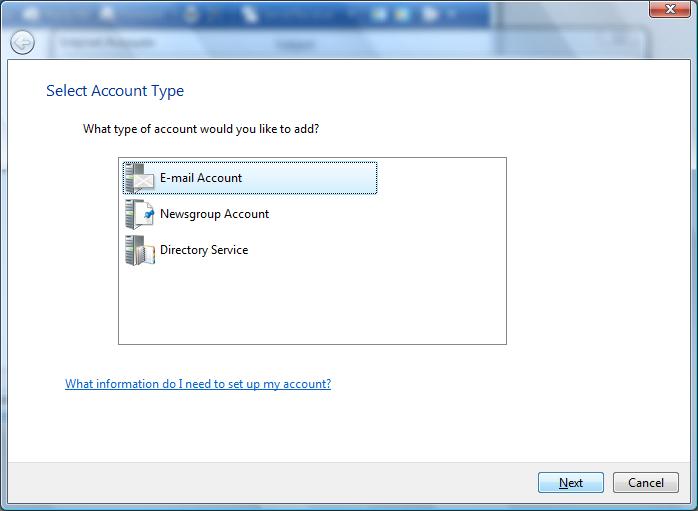
4. Select E-mail Account and click Next.

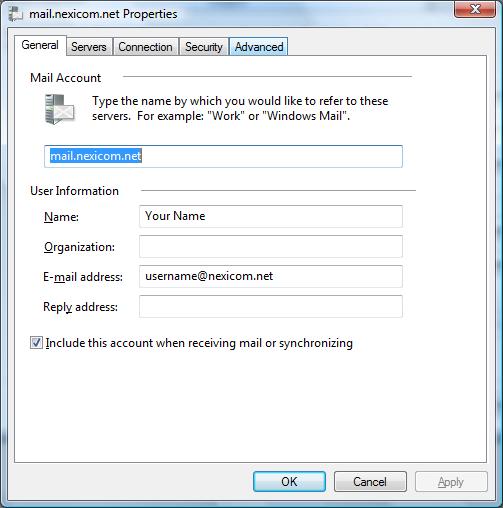
5. Type a Display name in the box. Click Next.
Note: Whatever you type in the Display name box will appear as your name on outgoing messages.
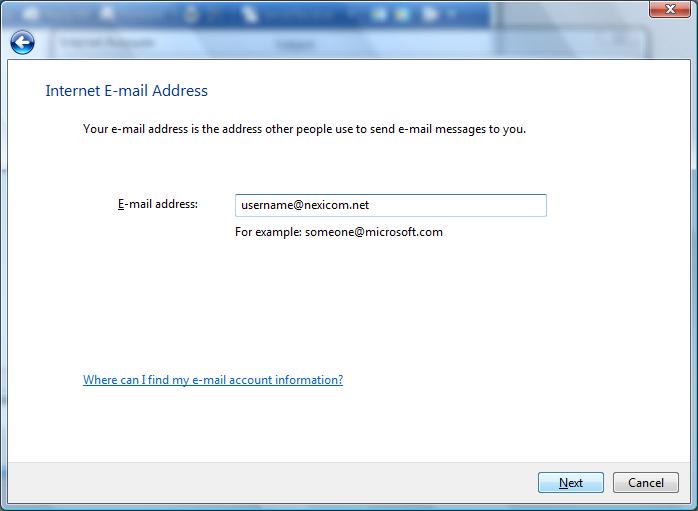
6. Type your full Nexicom E-mail address in the box. Click Next.
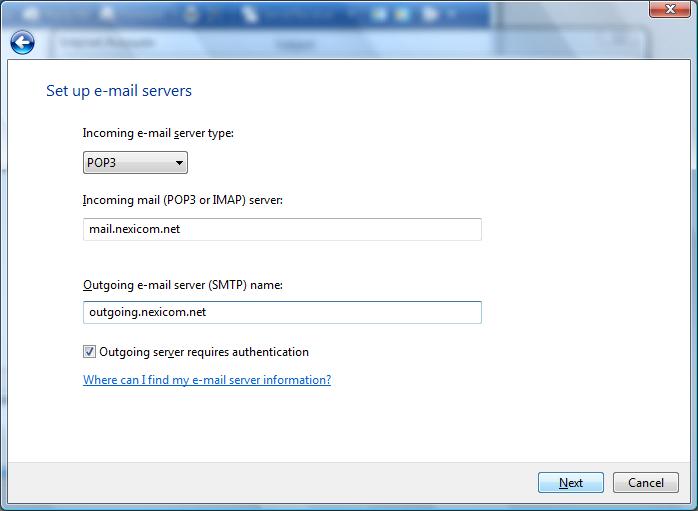
7. Fill in the fields with the corresponding information:
- My incoming mail server is a POP3 server.
- Incoming mail (POP3, IMAP or HTTP) server – mail.nexicom.net
- Outgoing mail (SMTP) server – outgoing.nexicom.net
Click to add a check mark to the box labeled Outgoing server requires authentication.
Click Next.
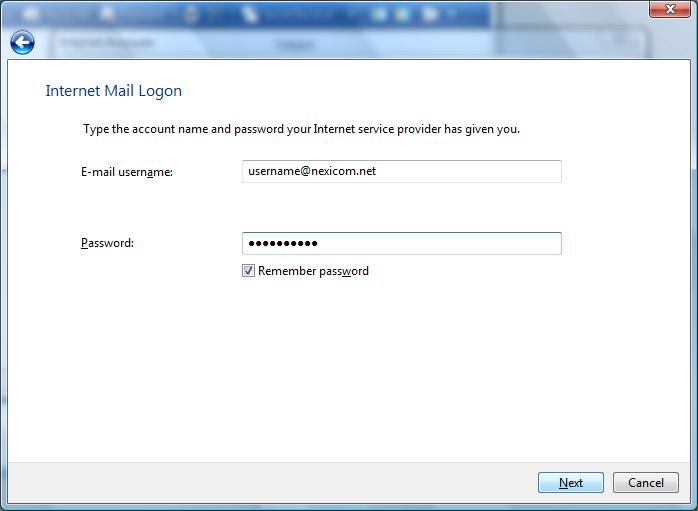
8. Fill in the fields with the corresponding information:
- E-mail username – Your full Nexicom email address
- Password – The password that corresponds with your email address.
Click Next.
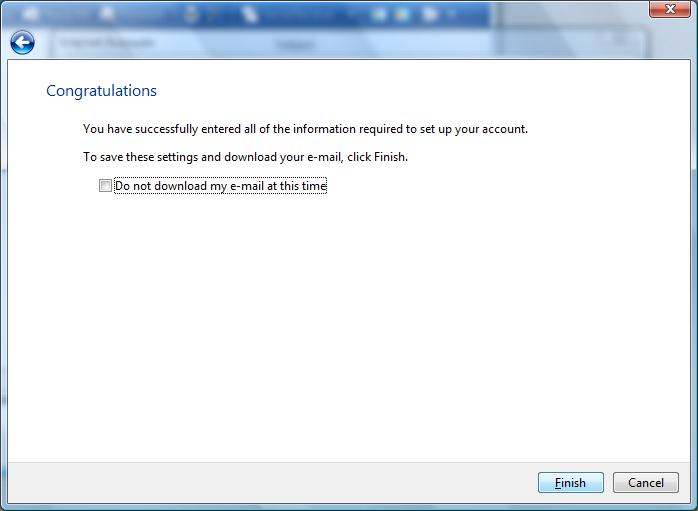
9. You will now see a message saying have successfully entered all of the information to set up your account. There is still one change to make before your account is ready to use.
Click Finish.
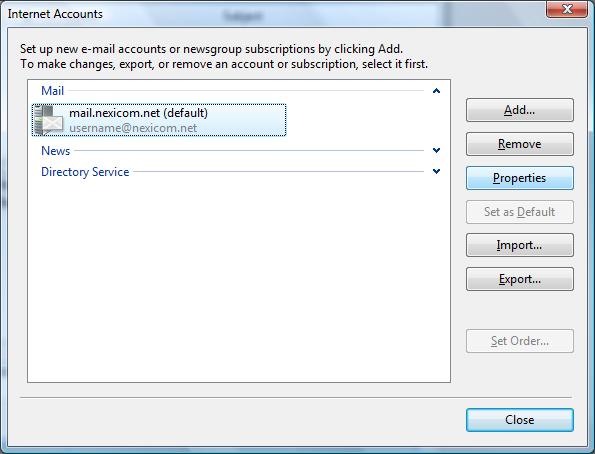
10. Click Properties.
11. Click on the Advanced tab.
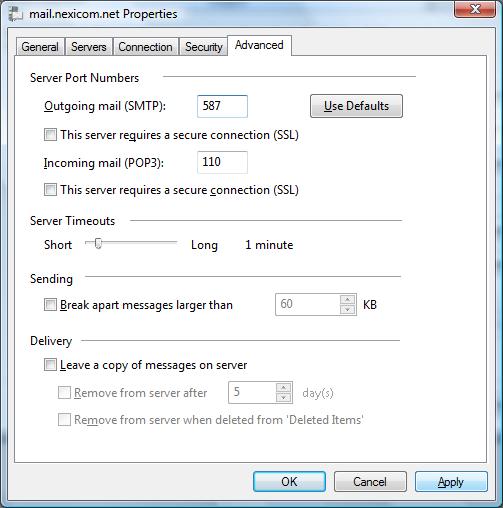
12. Type the number 587 in the box labeled Outgoing mail (SMTP).
Click Apply.
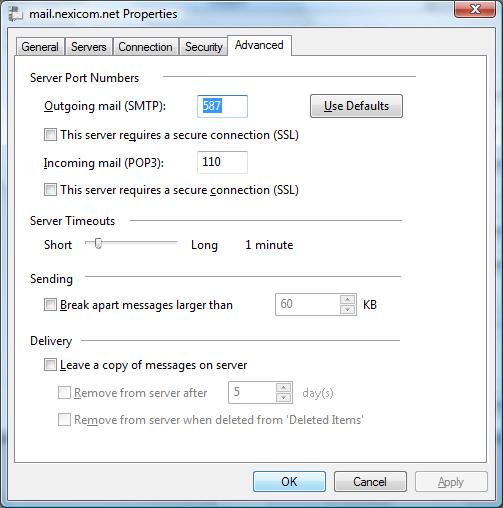
13. Click OK.
14. Your Nexicom email account is now set up and ready to use.
Click Close to begin using your account.