How Can We Help?
Hosting Email Setup In Thunderbird
POP3 Instructions
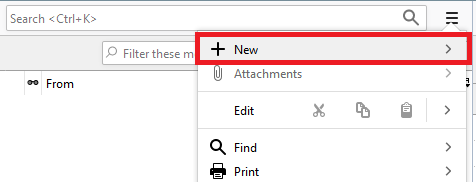
These instructions apply to Thunderbird version 68.6.0. They should be similar to other versions of Thunderbird. 1. Click the Thunderbird Menu icon. It looks like three horizontal lines at the top right.
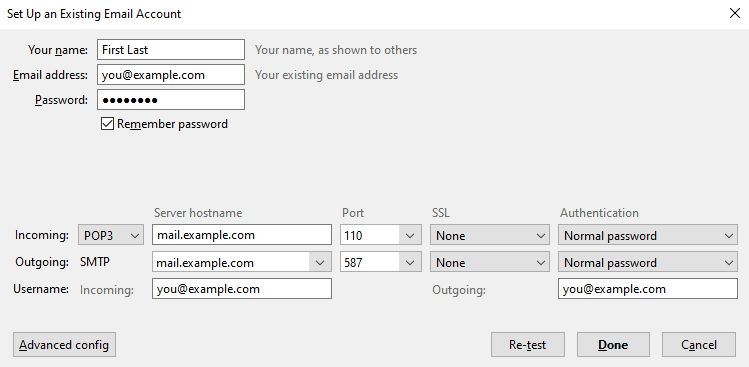
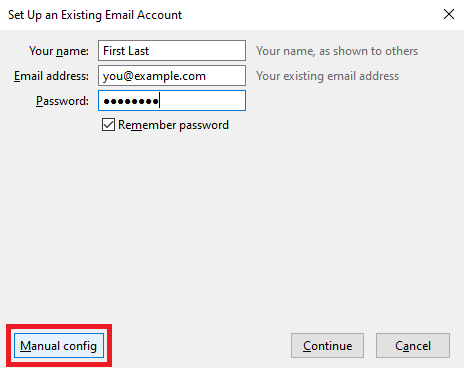
- Your name – Whatever you enter here will be displayed on your outgoing messages
- Email address – Your full email address
- Password – The password that corresponds with your email account
- Choose POP3 from the drop down menu
- Server hostname – Type the POP3 server of your domain in the format of: mail.domain.ext
- Port – Select 110 from this drop down menu
- SSL – Select None from the drop down menu
- Authentication – Select Normal password from the drop down menu
- Server hostname – Type the POP3 server of your domain in the format of: mail.domain.ext
- Port – Select 587 from the drop down menu
- SSL – Select None from the drop down menu
- Authentication – Select Normal password from the drop down menu