
Email Setup in Mac Mail

1. Click Mail.
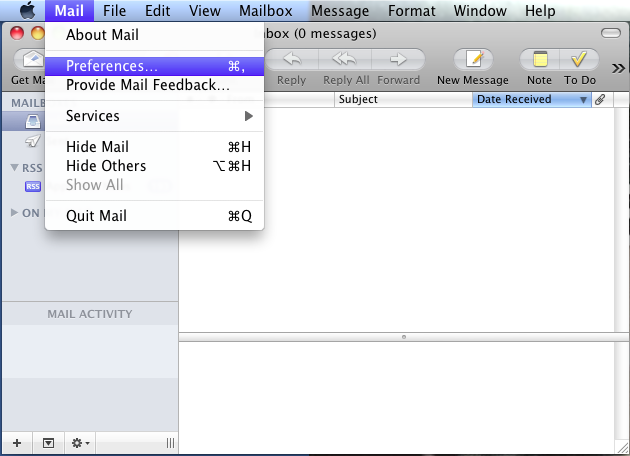
2. Click Preferences…
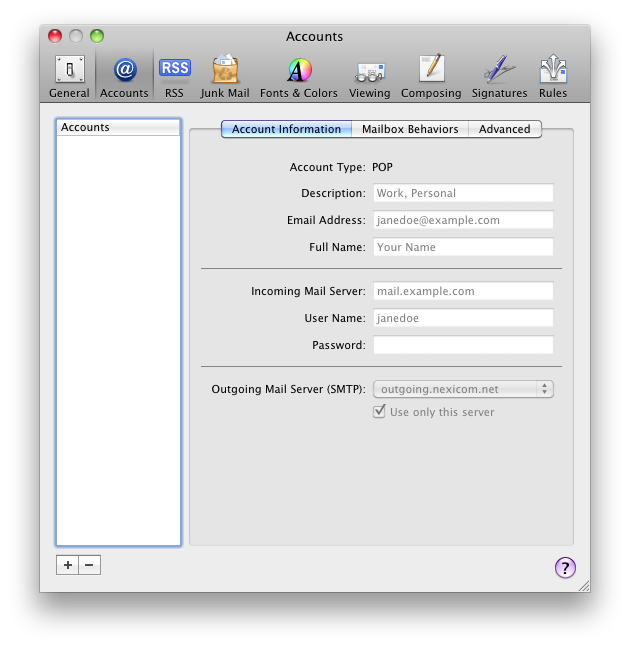
3. Click the + button at the bottom left.
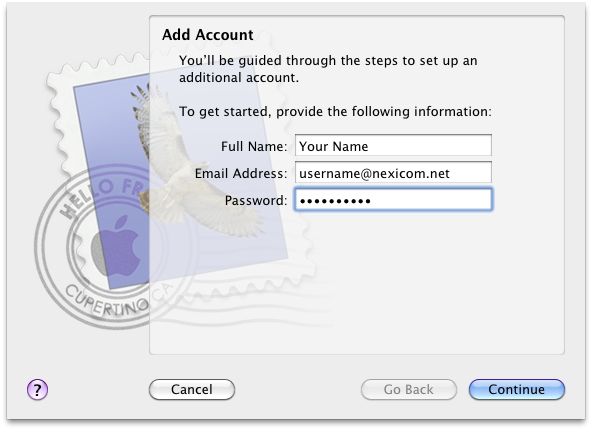
4. Fill in the fields with the corresponding information:
- Full Name – Your Name (Note: Whatever is entered in this box will appear on your outgoing messages)
- Email Address – Your full Nexicom email address
- Password – The password that corresponds with your email address
Click Continue.
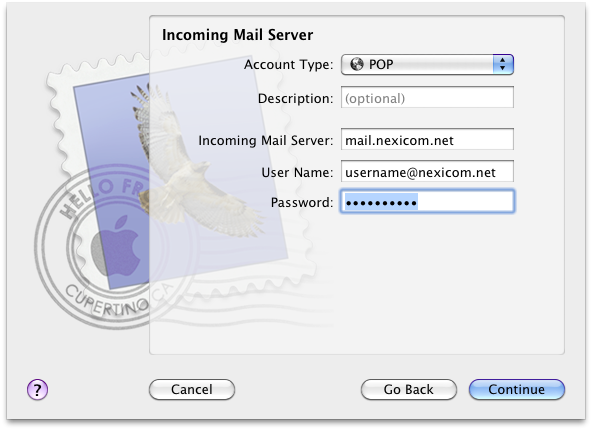
5. Fill in the fields with the corresponding information:
- Account Type – POP
- Incoming Mail Server – mail.nexicom.net
- User Name – Your full Nexicom email address
- Password – The password that corresponds with your email address
Click Continue.
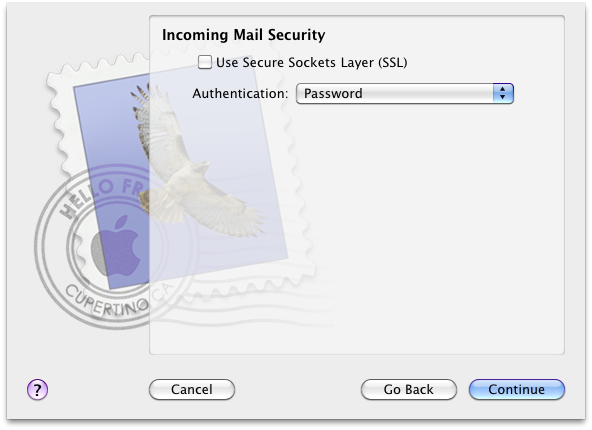
6. Select Password from the drop down menu labeled Authentication.
Click Continue.
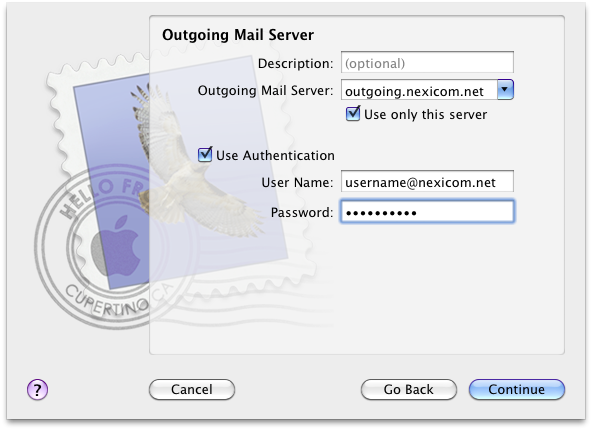
7. Fill in the fields with the corresponding information:
- Outgoing Mail Server – outgoing.nexicom.net
Click to add a check mark in the box labeled Use Authentication.
- User Name – Your full Nexicom email address
- Password – The password that corresponds with your email address.
Click Continue.

8. Select Password from the drop down menu labeled Authentication.
Click Continue.

9. You will now see a summary of the information you have added thus far.
Click to add a check mark in the box labeled Take account online and click Create.
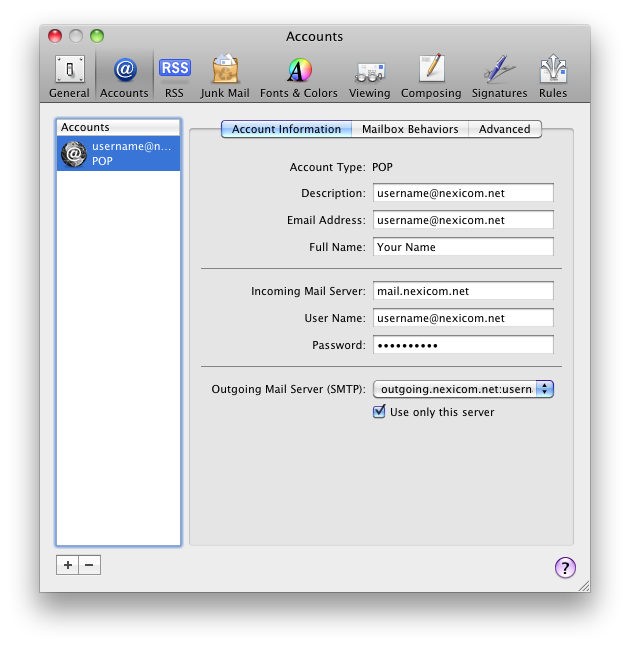
10. You will now see you account information listed.
Click the Red circle at the top left to being using your email account.