
Connection Setup on a Linksys Smart Wifi Router
Note: Before proceeding with this setup, ensure your Nexicom equipment is connected to the Internet or WAN port on your Linksys router via an Ethernet cord. Also ensure that your computer is connected to your Linksys router (preferably by an Ethernet cord).

1. Open your Internet browser.
Note: Internet Explorer was used for the purposes of this instructional document but any web browser will work (Mozilla Firefox, Google Chrome, Safari, etc.)

2. In the address bar, type 192.168.1.1 and press Enter.
Note: 192.168.1.1 is the most common address for Linksys routers, if this does not work consult your router documentation to find the proper address.
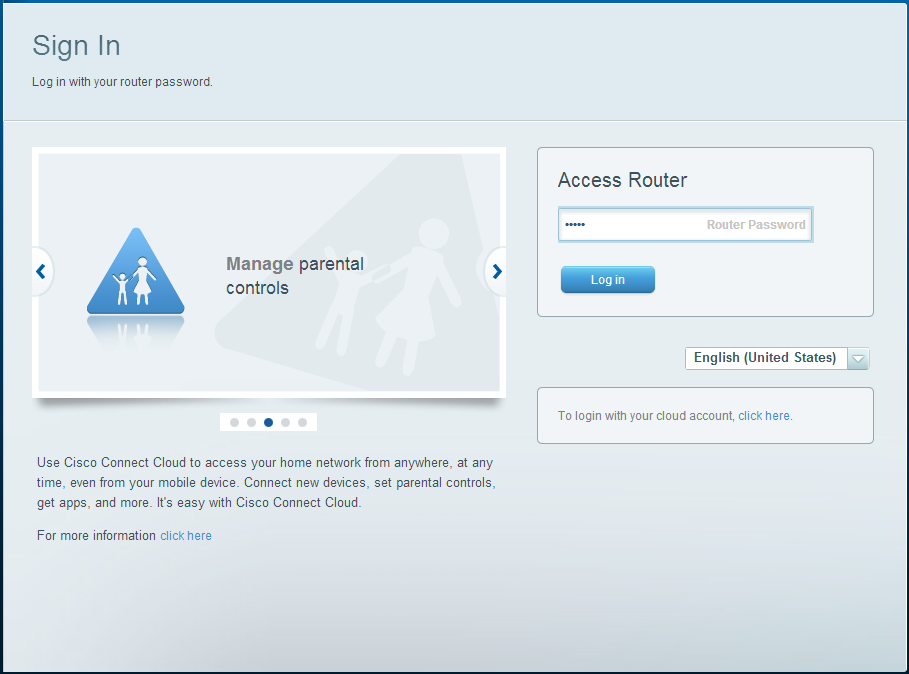
3. Type admin in the Router Password box and click Log in.
Note: This is the default password for most Linksys routers, if this password does not work please consult your router documentation to find the proper information.
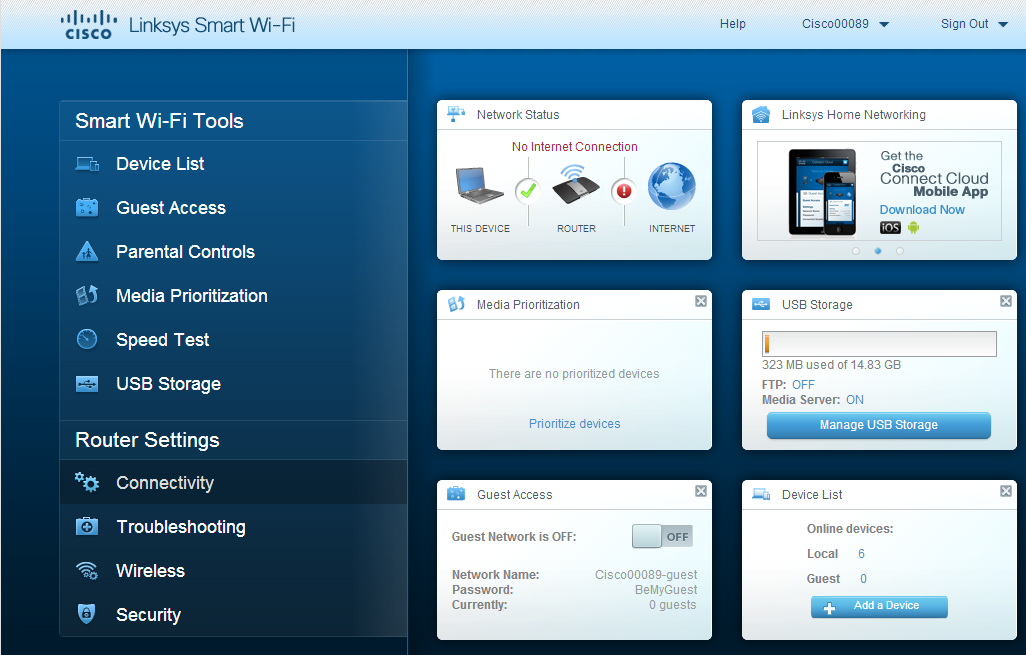
4. On the left hand menu bar, click Connectivity.
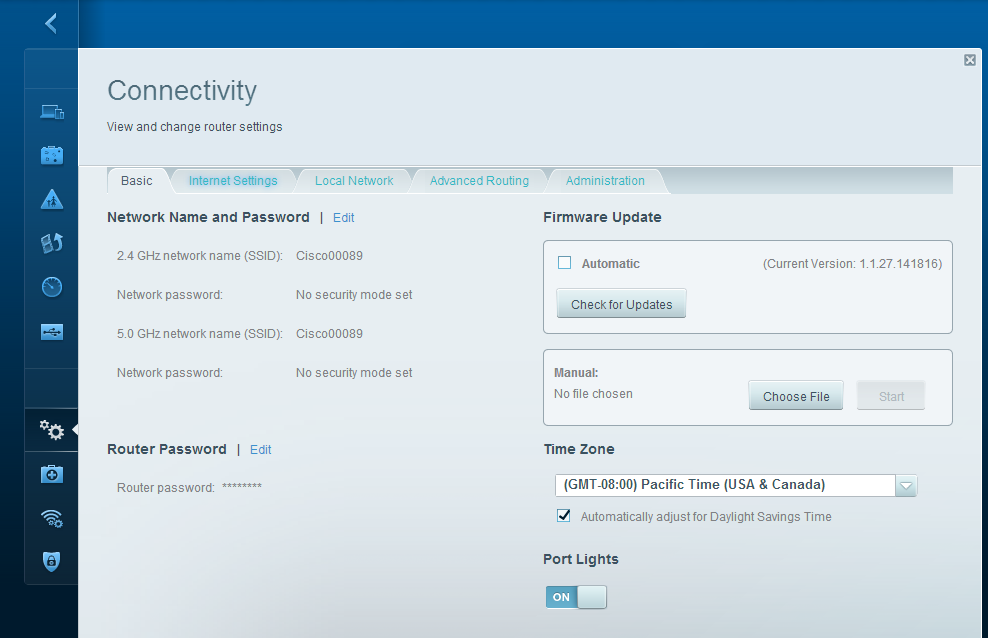
5. Click the Internet Settings tab.
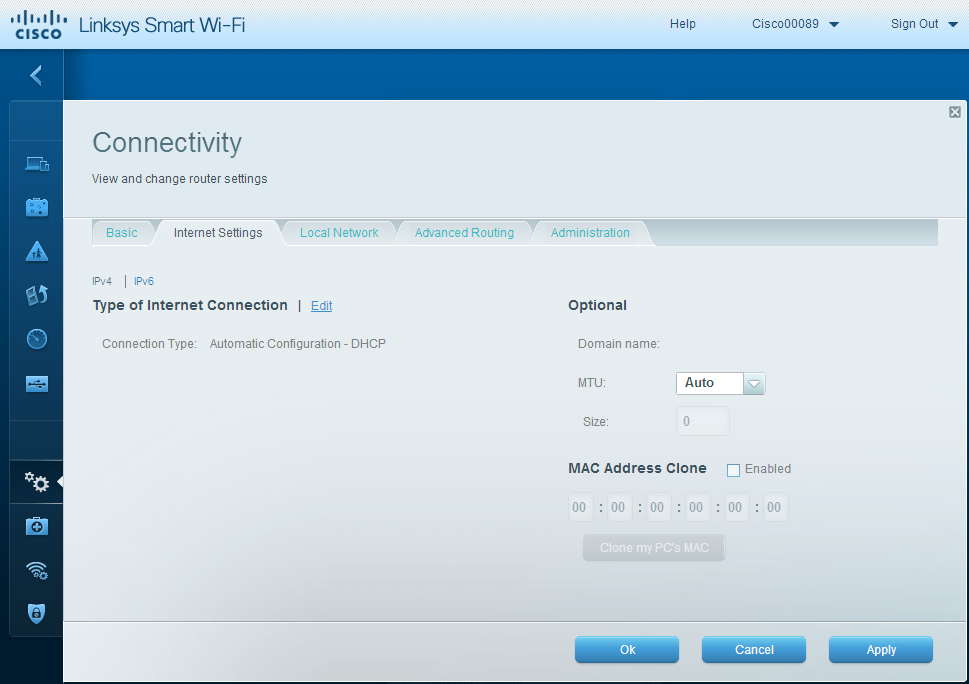
6. Click Edit beside the Type of Internet Connection heading.
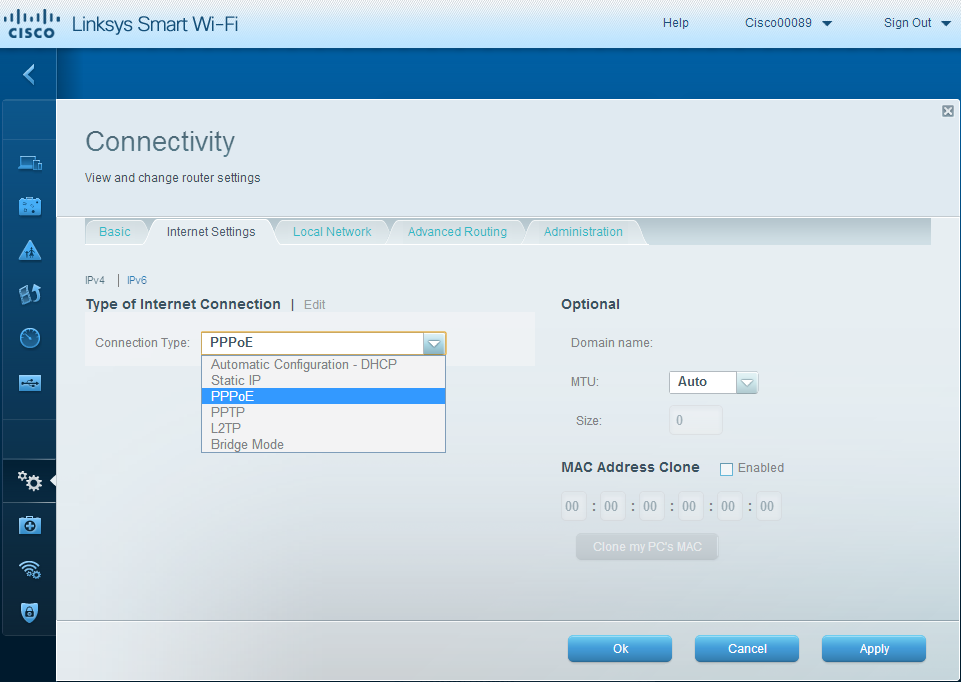
7. Select PPPoE from the drop down menu labeled Connection Type.
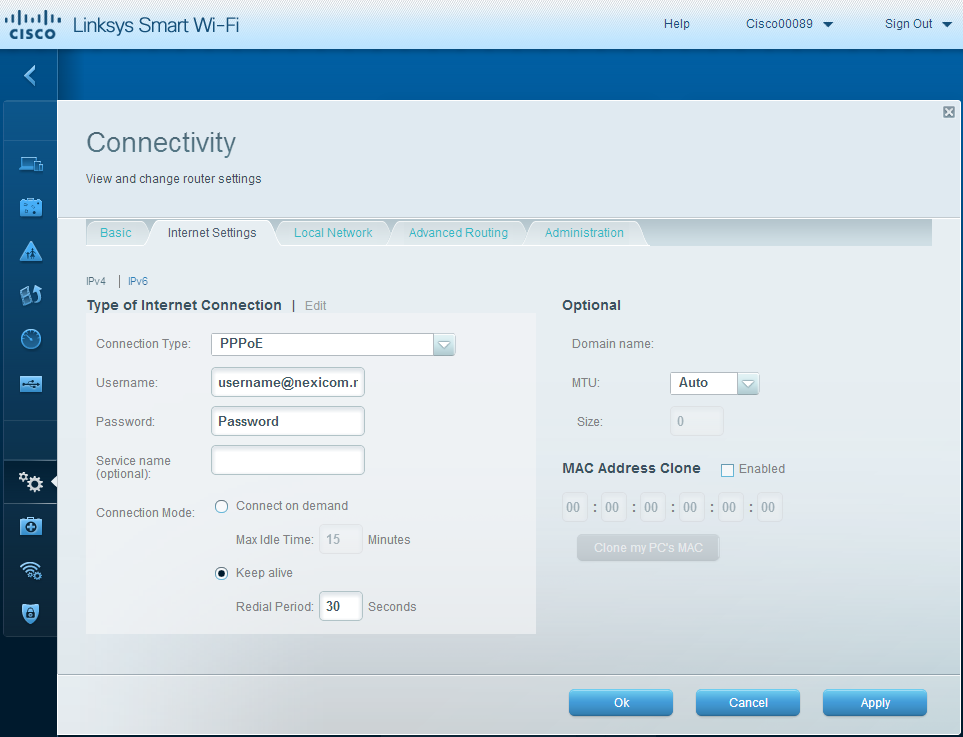
8. Fill in the fields with the corresponding information:
- Username – Your full Nexicom username (must end with @nexicom.net)
- Password – Your Nexicom password
- Service name – Leave this field blank
Click Apply.
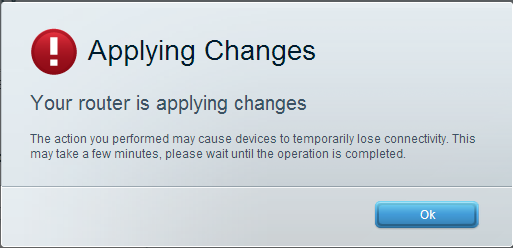
9. A box will pop up saying that Your router is applying changes.
Click OK.

10. After clicking OK on the previous screen, you will see a Waiting… screen appear as the router saves and applies these settings. Once that screen disappears, the settings will have saved in the router and it should have connected to the internet.
Note: The above walkthrough is for a basic Internet connection setup on a Linksys Smart Wifi router. This will not set up or secure your wireless connection. The screens above may differ from the screens you see depending on the model of Linksys router you have. If you have any difficulty in this setup or require assistance in setting up or securing your wireless connection, consult your router documentation and/or contact the manufacturer.