-
Cable Internet
-
Dial-Up
-
Digital Telephone
-
DSL
-
Email Protection
-
Fibre Internet
-
My Account
-
Nexicom Email
- Adding a contact to your contact list (Webmail)
- Attaching a File Using the Webmail
- Check Multiple Nexicom Email Accounts with One Login
- Email Setup in Incredimail
- Email Setup in Mac Mail
- Email Setup in Mail for Windows 10
- Email Setup in Mozilla Thunderbird
- Email Setup in Outlook (Office 365)
- Email Setup in Outlook 2003
- Email Setup in Outlook 2007
- Email Setup in Outlook 2010
- Email setup in Outlook 2013
- Email Setup in Outlook Express
- Email Setup in Windows Live Mail
- Email Setup in Windows Mail
- Email Setup on Android Phone or Tablet
- Email Setup on iPad (iOS7)
- Email Setup on iPad (Pre-iOS7)
- Email Setup on iPhone/iPod Touch (iOS 7+)
- Email Setup on iPhone/iPod Touch (Pre-iOS7)
- Important information for using email outside Canada!
- Logging in to the Nexicom Webmail
- Setting up an Auto-Responder
- Setting up Email Forwarding
- Show all articles (9) Collapse Articles
-
Nexicom Routers
-
NexiPhone (Landline)
-
Security
-
TV
-
Web Hosting
- A Web Hosting and Domain Registration Self Serve Guide
- Backup your website
- Deleting Mail From Webmail
- Exceeding Resource Limits
- Getting Free SSL/TLS Certificate from Let's Encrypt
- Hosting Email Setup
- Hosting Email Setup In Thunderbird
- Hosting Email Setup on Android Phone or Tablet
- Hosting Email Setup on iPhone or iPad
- How to create a subdomain
- Login to your Web Hosting Control Panel (Plesk)
- Manage Whitelist and Blacklist
- Updating your DNS record
- Website is showing a default webpage
-
Wireless Internet
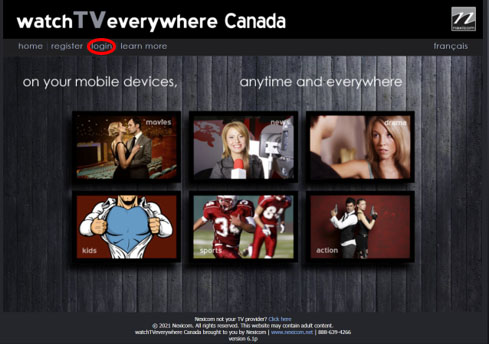
Watch TV Everywhere – Setup Instructions
It is easy to start using WTVE. The first step is registration.
1. In any Web Browser (for example: Internet Explorer, Google Chrome, Safari), go to www.wtve.ca.
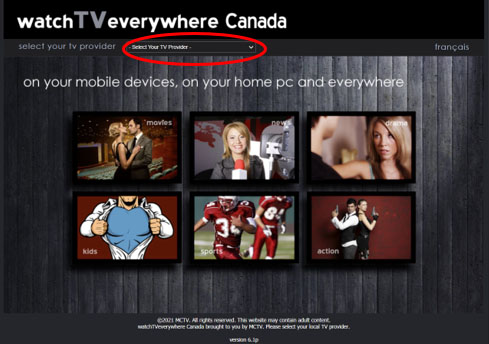
2. Select Nexicom as your TV provider from the drop-down menu and click on Submit:
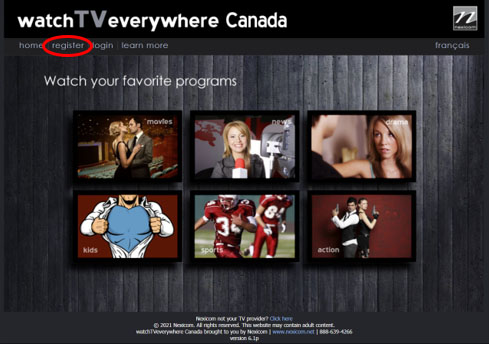
4. Enter all required information on the “Register” page including your Nexicom Account Number and the spelling of your Last Name. Both of these details can be found on your Nexicom Billing Statement.
5. Once all information has been entered, click on “Register”.
6. Check the email address you provided during the Registration process. You will find an email message with your WTVE activation link. Click on the link to complete the registration process.
7. Following a successful Registration and Activation, you will see the following screen. From here, click on any one of the Channel Logos to access their available content. Remember that you will only see Logos or Links to content for WTVE available channels that you subscribe to through your chosen television packages with Nexicom.

8. After you have successfully Registered and Activated your account, you can access your WTVE account on any device by using any Web Browser (for example: Internet Explorer, Google Chrome, Safari), and going to www.wtve.ca.
9. Click on “Log In”.