
Email Setup on iPhone/iPod Touch (iOS 7+)
1. Tap on the Settings application.
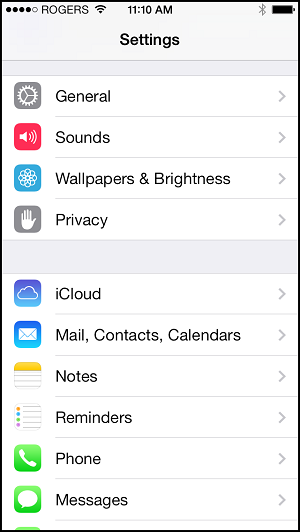
2. Tap on Passwords & Accounts.
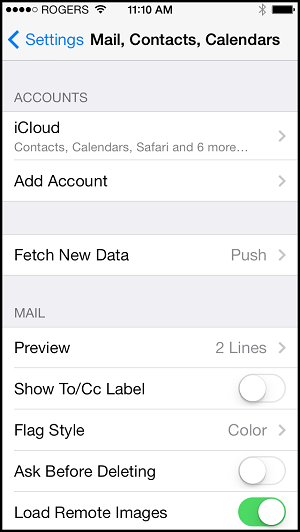
3. Tap on Add Account.
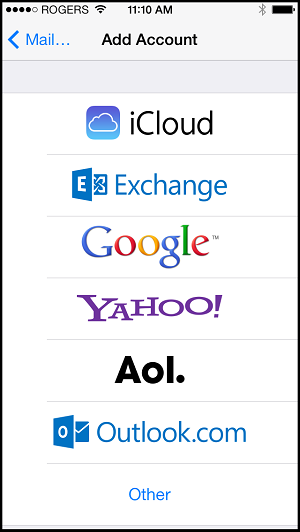
4. Tap on Other.
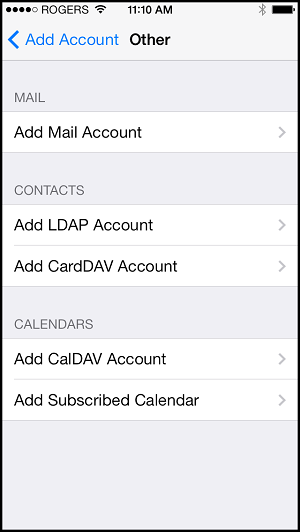
5. Tap on Add Mail Account.
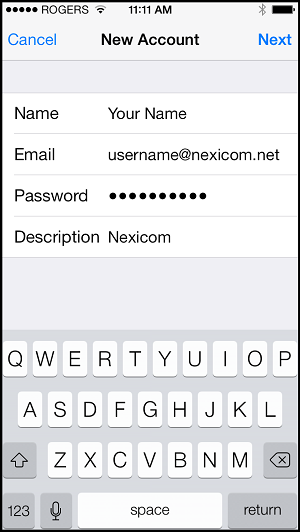
6. Fill in the fields with the corresponding information:
- Name – Your name (Whatever is entered into this field will show up on outbound messages)
- Email – Your full Nexicom email address
- Password – The password that corresponds with your Nexicom email address
- Description – This will auto-fill as Nexicom
Tap Next.
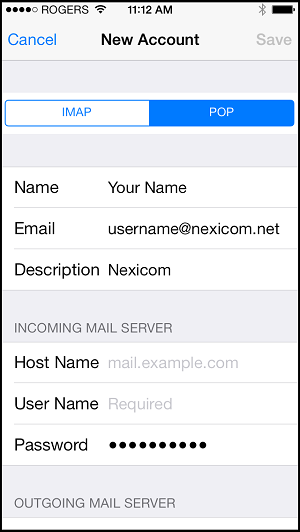
7. Tap the word POP at the top of the screen so that it turns blue.
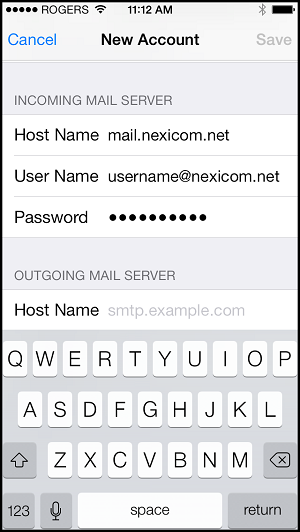
8. Under the Incoming Mail Server heading, fill in the fields with the corresponding information:
- Host Name – mail.nexicom.net
- User Name – Your full Nexicom email address
- Password -This should auto-fill with your password. If it does not, enter the password that corresponds with your Nexicom email address.
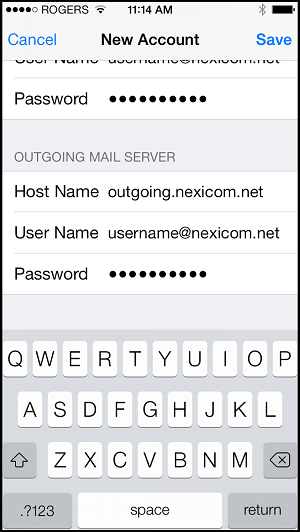
9. Under the Outgoing Mail Server heading, fill in the fields with the corresponding information:
- Host Name – outgoing.nexicom.net
- User Name – Your full Nexicom email address
- Password – The password that corresponds with your email address
Note: Both the User Name and Password fields will say they are optional. These are required for our outgoing mail server and must be entered.
Tap Save.
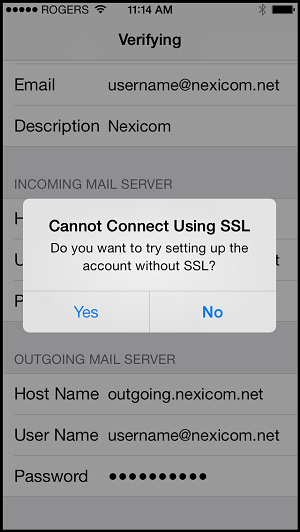
10. As the system verifies the settings for the incoming mail server, a box will pop up that says, “Cannot Connect Using SSL Do you want to try setting up the account without SSL?”
Tap Yes.
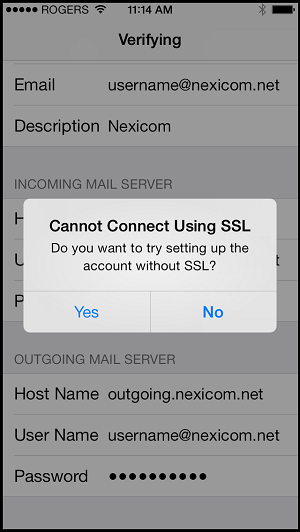
11. As the system verifies the settings for the outgoing mail server, a box will pop up that says, “Cannot Connect Using SSL Do you want to try setting up the account without SSL?”
Tap Yes.
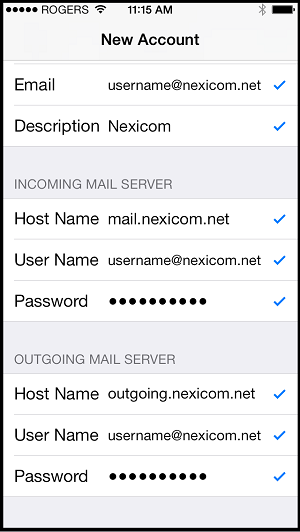
12. Once everything is verified, you will see checkmarks appear to the right of each setting and you will be taken you back to the Mail, Contacts, Calendars screen.
This means you are done and your email is ready to use.