-
Cable Internet
-
Dial-Up
-
Digital Telephone
-
DSL
-
Email Protection
-
Fibre Internet
-
My Account
-
Nexicom Email
- Adding a contact to your contact list (Webmail)
- Attaching a File Using the Webmail
- Check Multiple Nexicom Email Accounts with One Login
- Email Setup in Incredimail
- Email Setup in Mac Mail
- Email Setup in Mail for Windows 10
- Email Setup in Mozilla Thunderbird
- Email Setup in Outlook (Office 365)
- Email Setup in Outlook 2003
- Email Setup in Outlook 2007
- Email Setup in Outlook 2010
- Email setup in Outlook 2013
- Email Setup in Outlook Express
- Email Setup in Windows Live Mail
- Email Setup in Windows Mail
- Email Setup on Android Phone or Tablet
- Email Setup on iPad (iOS7)
- Email Setup on iPad (Pre-iOS7)
- Email Setup on iPhone/iPod Touch (iOS 7+)
- Email Setup on iPhone/iPod Touch (Pre-iOS7)
- Important information for using email outside Canada!
- Logging in to the Nexicom Webmail
- Setting up an Auto-Responder
- Setting up Email Forwarding
- Show all articles (9) Collapse Articles
-
Nexicom Routers
-
NexiPhone (Landline)
-
Security
-
TV
-
Web Hosting
- A Web Hosting and Domain Registration Self Serve Guide
- Backup your website
- Deleting Mail From Webmail
- Exceeding Resource Limits
- Getting Free SSL/TLS Certificate from Let's Encrypt
- Hosting Email Setup
- Hosting Email Setup In Thunderbird
- Hosting Email Setup on Android Phone or Tablet
- Hosting Email Setup on iPhone or iPad
- How to create a subdomain
- Login to your Web Hosting Control Panel (Plesk)
- Manage Whitelist and Blacklist
- Updating your DNS record
- Website is showing a default webpage
-
Wireless Internet
Check Multiple Nexicom Email Accounts with One Login
Setting up additional accounts allows one to monitor multiple email accounts from a single logged in Nexicom Webmail session, and send mail from each separate email address.
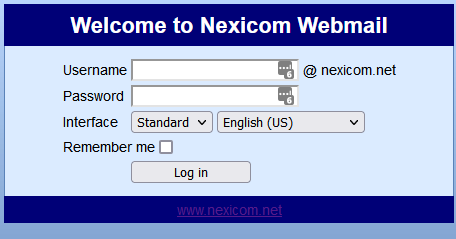
1. In your web browser go to mail.nexicom.net and enter your email address and password of your mail main email account
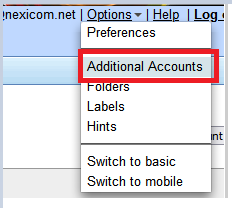
2. In the upper-right corner select ‘Options’

3. Select ‘Additional Accounts’
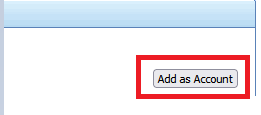
4. Select ‘Add Account’ to the upper-right of the screen
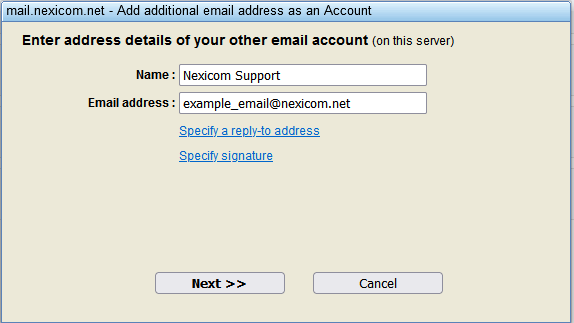
5. Fill in the input lines with your name or how you would like to the recipients of email sent from this account to be setup. I.E. John Smith, Smith Family etc…. And then fill in your full email address and click ‘Next’
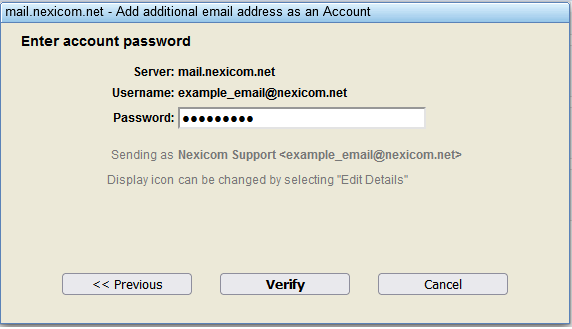
6. Enter your password for the email address the additional email account and select ‘Verify‘
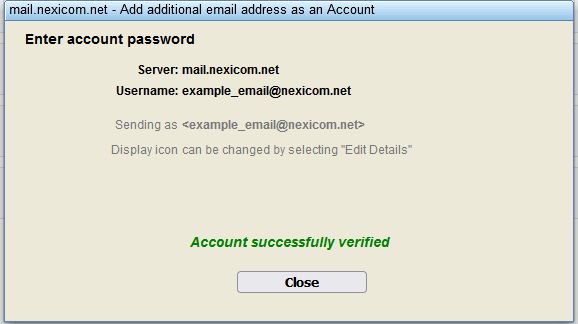
7. The screen will display ‘Account successfully verified’. Select ‘Close” to close the window
8. Select ‘Done’ to close out the options screen

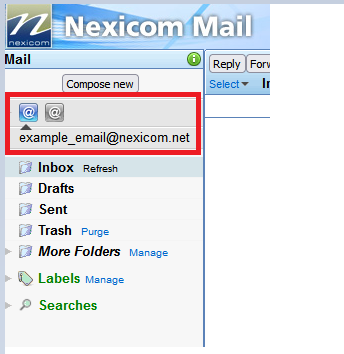
9. In the left column just above the inbox will be two icons with ‘@’ symbol – clicking on those icons will move you between your main account (Left icon) and the newly added additional account (Right Icon)