
How Can We Help?
Email Setup in Mail for Windows 10
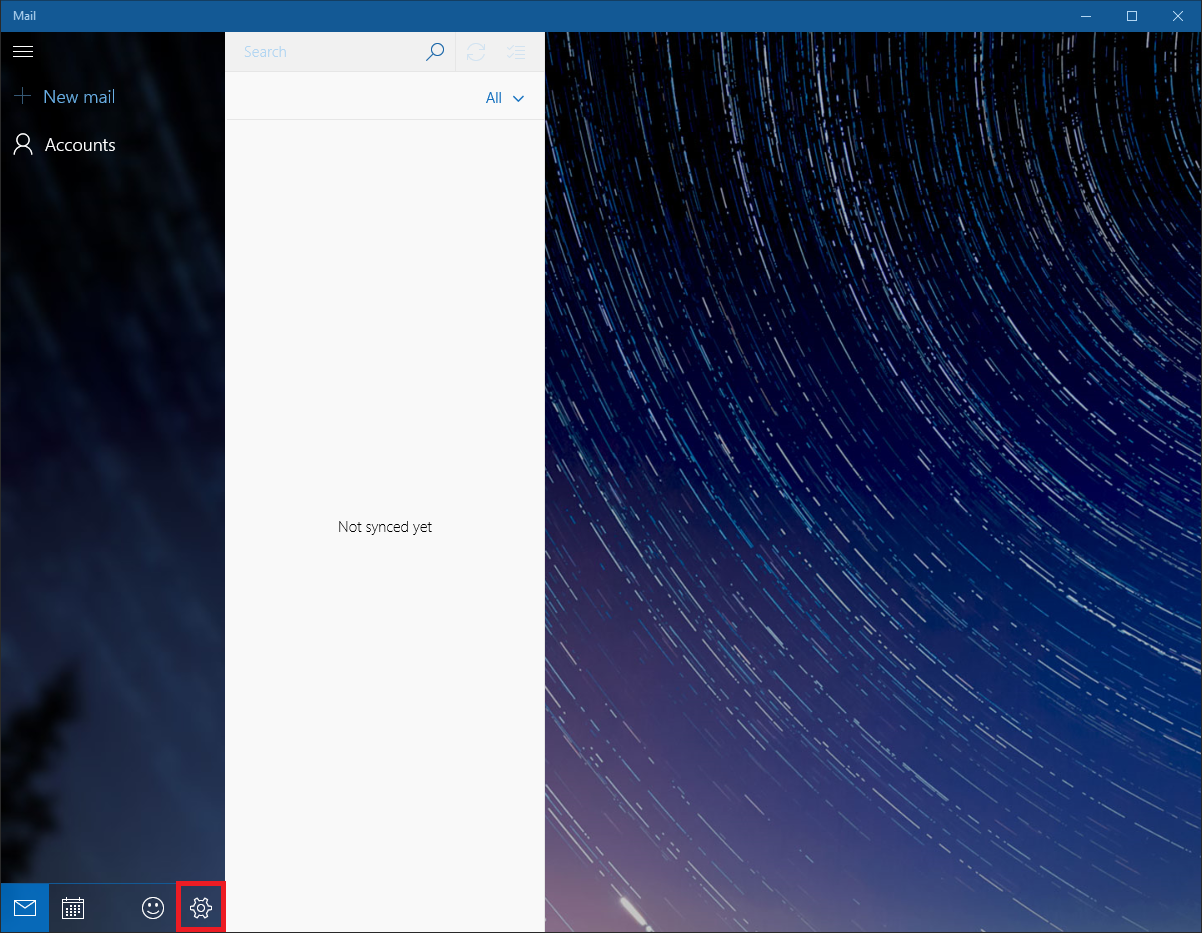
- Click the button that looks like a gear in the bottom right.

- Click on Accounts in the menu that appears on the left side.
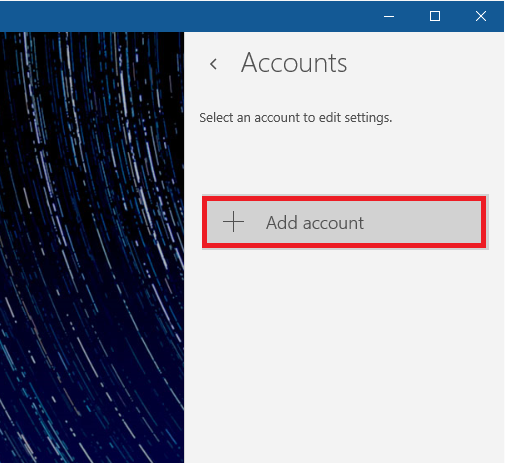
- Click on the Add Account button.
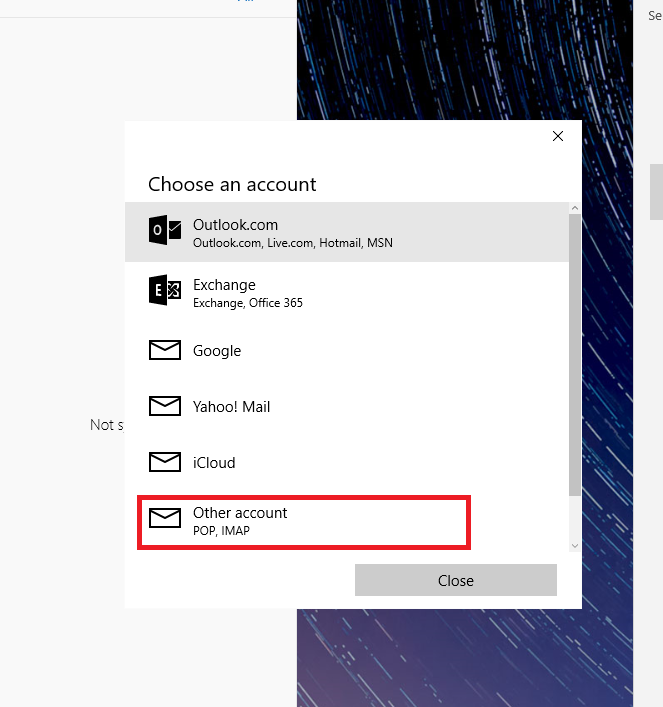
- Click on Other account in the menu that will appear in the middle.
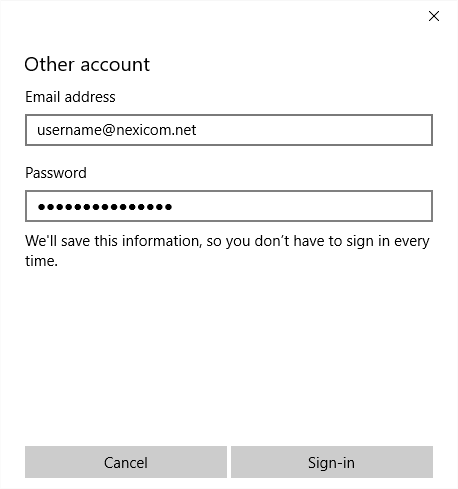
- Fill in the fields with the corresponding information:
- Email address– Your full Nexicom email address
- Password– The password that corresponds with your email account
Click on the Sign-in button.
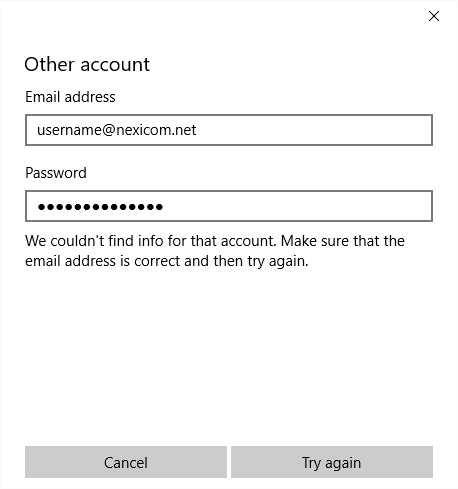
- The program will say that it “couldn’t find info”. Click the Try again button until it changes to Advanced, and then click on Advanced.
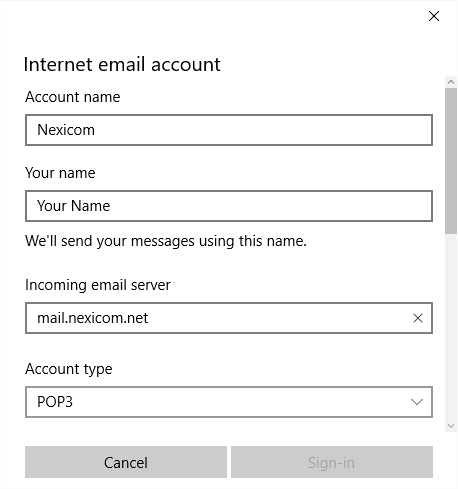
- Fill in the fields with the corresponding information:
- Account name – Whatever you enter here will be what Mail will refer to the account by
- Your name– Whatever you enter here will be displayed on your outgoing messages
- Incoming email server– Type nexicom.net in this box
- Account type– Choose POP3 from the drop down menu
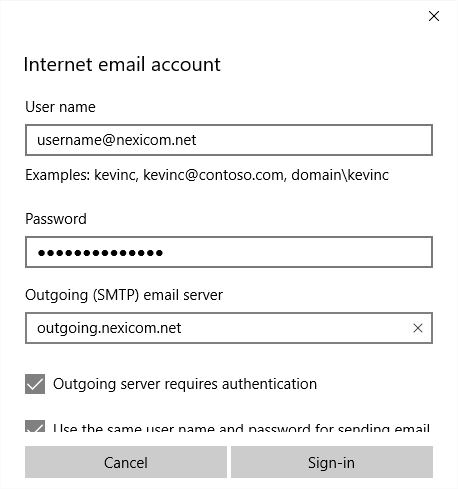
Scroll down, and fill in the fields with the corresponding information:
- User name – Type your full Nexicom email addressin this box
- Password– The password that corresponds with your email account if not already entered
- Outgoing (SMTP) email server– Type nexicom.net in this box
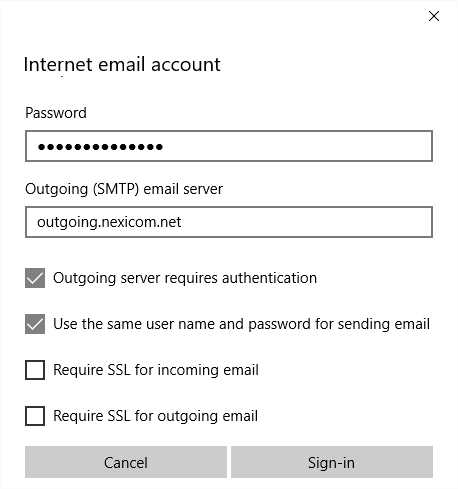
Scroll down once more, and ensure that:
- Outgoing server requires authentication – Is checked
- Use the same user name and password for sending email – Is checked
- Require SSL for incoming email – Is NOT checked
- Require SSL for outgoing email – Is NOT checked
Finally, click Sign-in.
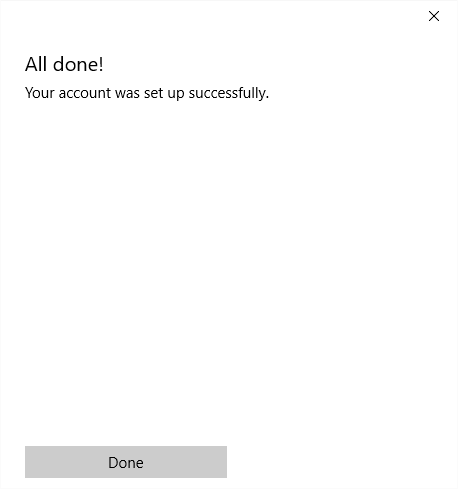
10. Click Done to begin using your account