
Connection Setup for DHCP (Tilgin HG2301)
If you are connecting to the Internet using a cable modem, another internet provider, or if you have a router in place before the Tilgin, you will need a DHCP setup.
If your Digital Telephone and Internet aren’t working and the Power light on your Tilgin is not lit green, perform a factory reset on the Tilgin and follow the procedure below.
Note: Before proceeding with this setup, ensure that your modem or router is connected to the WAN port on the Tilgin HG2301. Also ensure that one end of an ethernet cord is plugged into the A, B, C, or D port on the Tilgin HG2301 and the other end plugged into your computer.

1. Open your internet browser.
Note: Internet Explorer was used for the purposes of this instructional document but any web browser will work (Mozilla Firefox, Google Chrome, Safari, etc.)

2. In the address bar, type 192.168.1.1 and press Enter.
Note: If this does not work, hold the reset button on the Tilgin down until all of the lights light up green and try again. If this still does not work, please give our Internet Helpdesk a call at 1-888-639-4266.
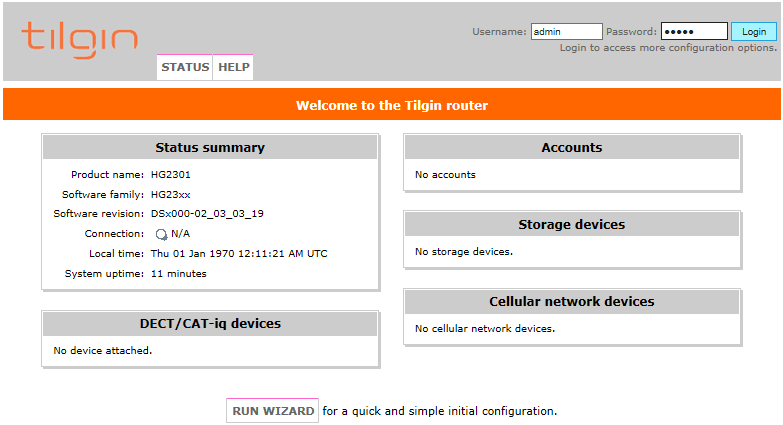
3. Type admin in both the Username and Password boxes located at the top-right corner of the screen.
Click Login.
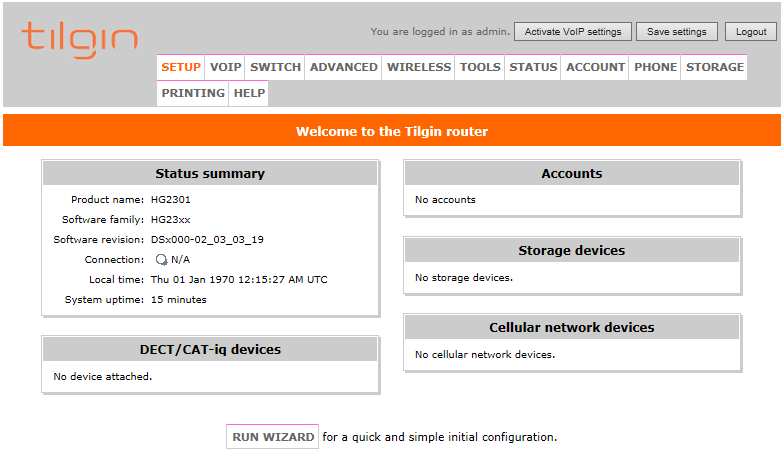
4. Click the Setup tab located at the top of the page.
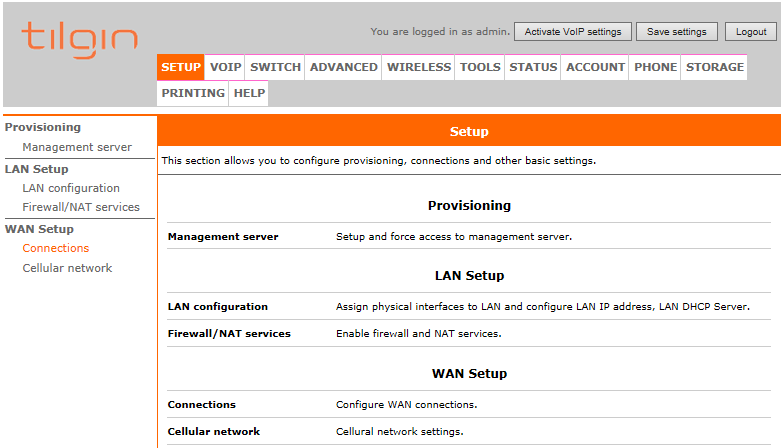
5. Click the Connections option that appears in the left-menu bar under the WAN Setup heading.
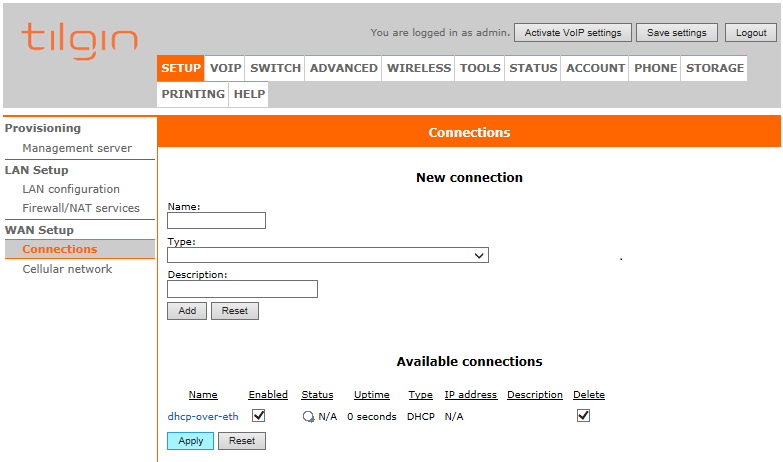
6. Click to add a check mark in the box labeled Delete.
Click Apply.
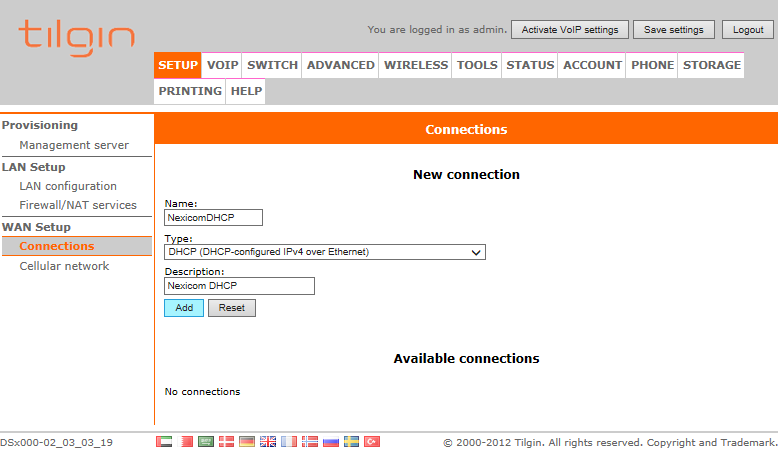
7. Fill in the fields with the corresponding information:
- Name – NexicomDHCP
- Type – DHCP (DHCP-configured IPv4 over Ethernet)
- Description – Nexicom DHCP
Click Add.
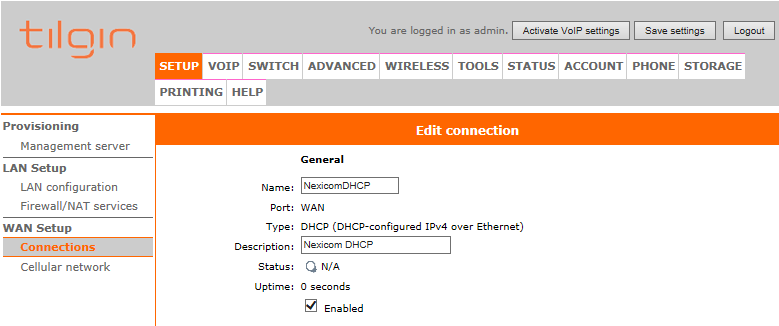
8. Click to add a check mark in the box labeled Enabled.
9. Click the Apply button located at the bottom of the page.

10. Click the Management Server that appears in the left-menu bar under the Provisioning heading.
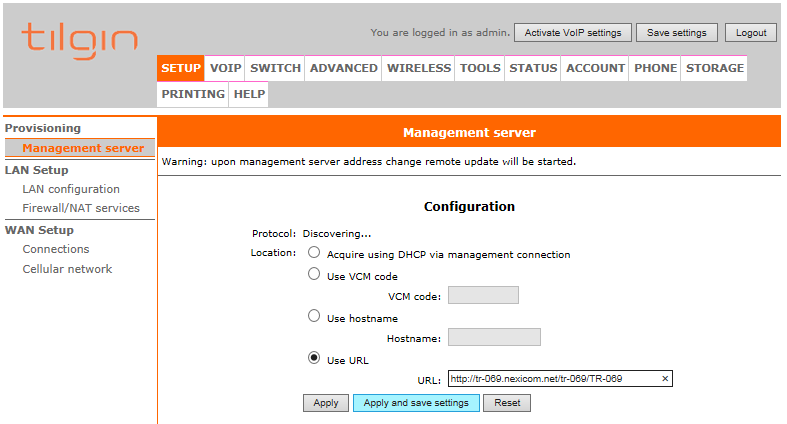
11. Click to add a dot in the circle labeled Use URL.
Type http://tr-069.nexicom.net/tr-069/TR-069 in the box labeled URL.
Click the Apply and save settings button.
Note: The above URL is case sensitive and must be typed exactly as shown in order for it to work.
The Tilgin should now begin downloading an update from the management server. During this update, the WWW light should be green and the Power light should be flashing at a fast pace either red or green. When the update is complete, the Power, WWW, and Phone 1 light should all be on steady green indicating the service is ready to use.
Note: If you continue to have difficulties with the Phone or Internet service after following these steps, please call our Internet Helpdesk at 1-888-639-4266 for further assistance.